The Ultimate Guide to a Designer-Organized, Future-Proof Basement
Transform your basement from a cluttered catch-all into one of the most functional spaces in your home.
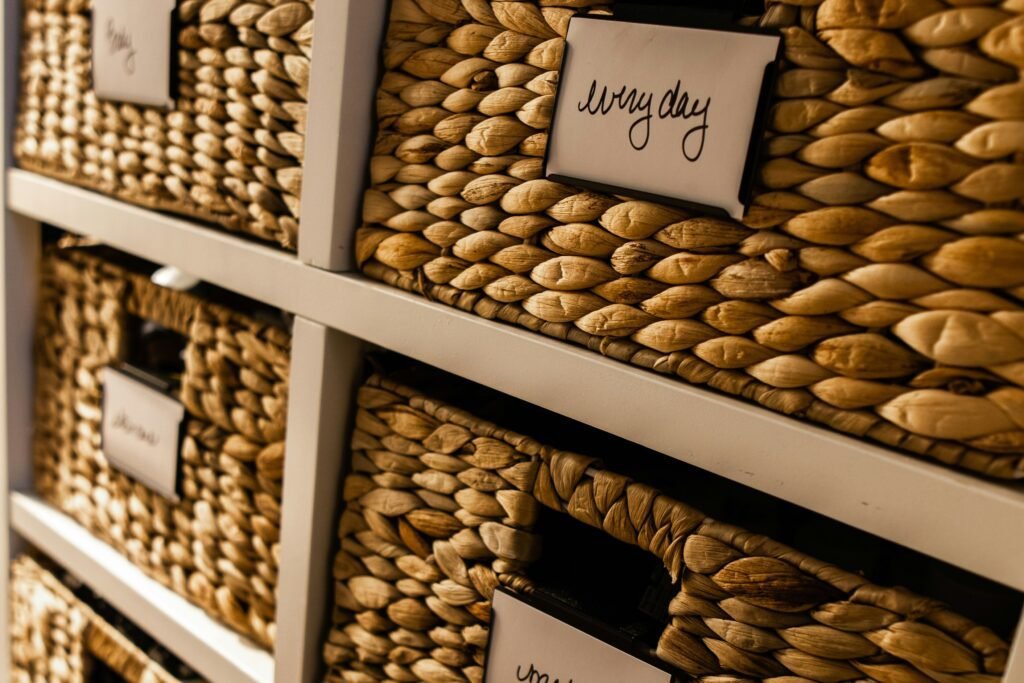
If we’re being honest, most basements slowly turn into the place where everything goes when you don’t know where else to put it. Holiday decorations, old toys, extra furniture, half-finished DIY projects, mystery boxes from your last move…it all ends up downstairs.
Out of sight, out of mind, right?
The problem is that your basement is valuable square footage, and when it’s packed with random clutter, you’re missing out on a ton of potential. Whether you dream of a cozy family room, a home office, a workout space, or simply a storage area that actually makes sense, a little planning can completely transform it.
Instead of thinking of your basement as just a place to stash stuff, think of it as an extension of your home. With the right organization systems, you can create a space that’s practical, easy to maintain, and even looks great.
Phase 1: Start with the Basement Environment
Before you rush out and buy matching storage bins, take a few minutes to evaluate your basement itself. Unlike the rest of your house, basements have their own challenges, mainly moisture and fluctuating temperatures.
Start by looking for any warning signs. Do you notice a musty smell? Any white, chalky residue on the foundation walls? Does the space feel damp?
If so, addressing moisture should be your first priority. Running a quality dehumidifier and keeping humidity below 50% goes a long way toward preventing mold, mildew, and damage to your belongings.
Next, think about the storage materials you’re using.
While wooden shelves might look beautiful, they’re not always the best choice for a basement. Wood can absorb moisture over time, which may lead to warping or mildew. Heavy-duty plastic or powder-coated metal shelving is a much better option since it’s durable, moisture-resistant, and built to handle heavier storage.
It’s also worth remembering that not everything belongs in basement storage. Some items simply don’t hold up well in damp environments, including:
- Important documents and photographs – Moisture can permanently damage paper and photographs.
- Electronics – Humidity can cause corrosion inside delicate components.
- Vintage clothing, fabrics, and leather – Natural materials are especially vulnerable to mildew.
- Solid wood furniture – Excess moisture can cause swelling, cracking, and mold growth.
If it’s something you couldn’t replace, it’s probably better stored somewhere upstairs.
Phase 2: Declutter Before You Organize
One of the biggest mistakes people make is organizing things they don’t actually need.
Before you start installing shelves or filling bins, go through everything in your basement and decide what deserves to stay.
A simple three-pile system works well:
- Keep
- Donate or Sell
- Toss
Be honest with yourself. If a box has been sitting untouched for years and you haven’t missed a single thing inside, chances are you don’t need to keep it.
Once you’ve narrowed everything down, start thinking in zones instead of random piles.
For example:
- Seasonal Storage: Holiday decorations, winter gear, and seasonal clothing.
- Workshop & Tools: Home repair supplies and DIY equipment.
- Bulk Household Storage: Paper towels, cleaning supplies, and pantry overstock.
- Living Space: Family room, playroom, home gym, or entertainment area.
Giving every category its own dedicated space makes it much easier to find things later, and much easier to put them back where they belong.
If you’re clearing out a large amount of clutter, hiring a junk removal company can be well worth the investment. Having someone haul everything away in one trip helps keep your momentum going instead of letting unwanted items sit around for weeks.
Phase 3: Think Vertical, Not Horizontal
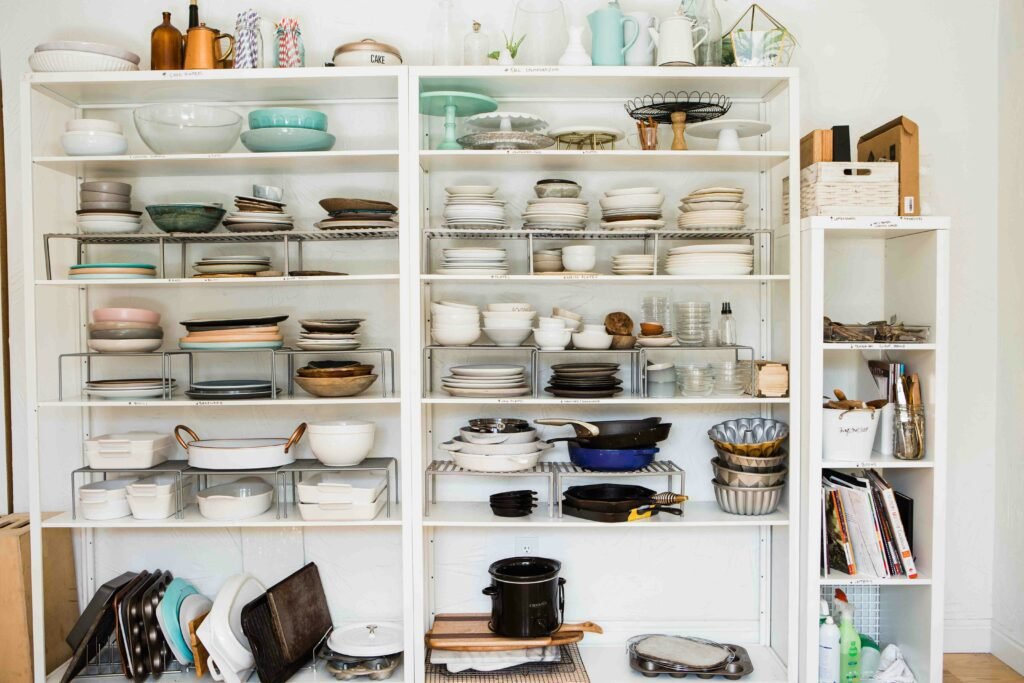
When organizing a basement, wall space is your best friend.
Rather than spreading everything across the floor, build upward.
First, swap out any old cardboard boxes. Cardboard absorbs moisture, attracts pests, and tends to collapse over time. Instead, use sturdy stackable plastic totes with secure lids to better protect your belongings.
Next, install adjustable metal shelving that’s securely anchored to the wall. Raising storage off the floor helps protect everything in case of minor flooding or unexpected leaks.
To maximize every inch of available space, consider using a combination of storage solutions like:
- Wall Storage: Pegboards, wall tracks, cabinets, and hooks are perfect for tools, sports equipment, extension cords, and gardening supplies.
- Overhead Ceiling Storage: Ceiling-mounted racks are ideal for lightweight but bulky items like camping gear, seasonal decorations, or artificial Christmas trees.
- Under-the-Stairs Storage: That awkward space under the staircase can become custom shelving, pull-out drawers, or hidden cabinets for surprisingly useful storage.
When you use both your walls and ceiling, you’ll free up valuable floor space and make the entire basement feel larger.
Phase 4: Make It Feel Like Part of Your Home
Just because your basement is functional doesn’t mean it has to feel cold or unfinished.
A few simple design choices can make a huge difference.
Start with paint. Lighter colors like warm white, soft gray, or light beige help brighten the space and reflect more light, making even smaller basements feel larger.
Lighting is just as important. If you’re still relying on a single dim bulb, upgrading to bright LED ceiling lights or track lighting can instantly make the room feel more inviting.
For flooring, choose materials that can handle basement conditions. Luxury vinyl plank, rubber flooring, and modular carpet tiles are all durable, moisture-resistant options that hold up much better than traditional carpet.
If part of your basement is used as a living space, consider hiding your storage area behind sliding barn doors, curtains, or decorative shelving. It’s an easy way to keep everything looking clean when guests come over.
You can also use furniture that doubles as storage, like ottomans, benches with hidden compartments, or console tables with drawers, to keep everyday clutter tucked away.
Phase 5: Create a System You’ll Actually Maintain
The most organized basement in the world won’t stay organized if you can’t find anything.
That’s where labeling comes in.
Label every storage bin on the front, side, and top so you can easily identify what’s inside no matter where it’s stored.
Color-coding can make things even easier. For example:
- Green for holiday decorations
- Blue for sports equipment
- Black for tools
- Clear bins for frequently used items
If you really want to level up your organization, create a simple digital inventory.
You can attach QR code labels to each tote that link to a spreadsheet or inventory app. Then, whenever you’re looking for something, you simply scan the code with your phone instead of digging through multiple bins.
Finally, plan for a little maintenance throughout the year.
Every few months, take a few minutes to:
- Empty and clean your dehumidifier.
- Check for signs of moisture.
- Put away items that have been left out.
- Donate anything you no longer need.
A quick seasonal reset is much easier than tackling years of accumulated clutter all at once.
Final Thoughts
An organized basement is about creating a space that works for your home and your lifestyle.
By controlling moisture, decluttering first, making the most of vertical storage, and putting simple systems in place, you can turn your basement from an overlooked storage area into one of the most useful spaces in your house.
The best part? Once everything has a home, keeping your basement organized becomes a whole lot easier.